
Learning Arduino in Tinkercad Circuits

Tinkercad.com offers great self paced tutorials on setting up Arduino circuits and writing the code. This resource could be used in a remote learning scenario, face to face, or hybrid.
Visit https://www.sorgule.com/robotics for additional resources on teaching arudino in a "normal classroom setting"
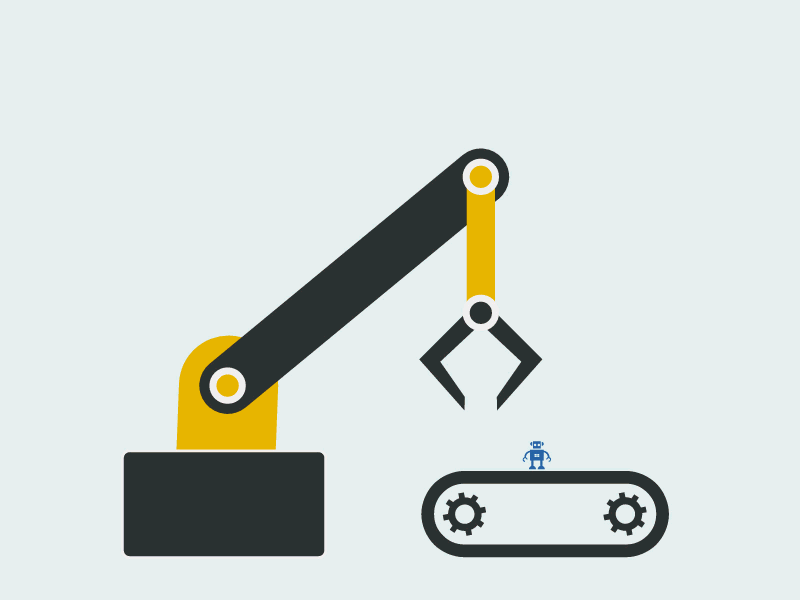
3D printed Robotic Arm
Students can design, fabricate, and code their own working robotic arm
Peru CSD Robotics class completed the EEZYbot MK1 prior to entering into distance learning in the spring of 2020. The MK1 is easy to customize and assemble. This build introduces students to blueprint reading, CAD, hardware and fasteners, and the mechanics of a robotic arm.
At the bottom of this section is an overview of the learning sequence the students experienced.
Peru CSD robotics class for 2020-2021 will be completing the MK2. This robotic arm will be wired and coded very similarily to the MK1, but the larger servo motors will make the build more Exciting!
Learning Sequence
The "best practice" Peru CSD Students had for success was prerecorded lessons and an assignment followed by a LIVE classroom meet-up the next class.

Students should become familiar with simple circuits and Arduino basics prior to starting this unit.
When students are entering into the last part of the Arduino skill builders have them also begin assembling the robot.
In 2020 this was already complete, however this could be done at a distance if parts are made ahead of time. I suggest a LIVE classroom meet up and build it together!


Peru CSD students had a series of skill builders to brought them to coding the entire robotic arm.
-Code and wire a servo
-Add a breadboard
-Add 3 additional servo motors
-Make the servo motors work independently
Students were introduced to work envelope and degrees of freedom of a robot.
Students fill out a chart from the LIVE meet-up to collect data for their code.
Chart Here
Students then updated their codes for the next LIVE class.

DOBOT Magician Robotic Arm
The DOBOT Magician Robotic Arm is a great way to teach students about industrial robotics and their applications

Learning Sequence
The "best practice" Peru CSD Students had for success was prerecorded lessons and an assignment followed by a LIVE classroom meet-up the next class.
Below are resource links for the DOBOT when students are in-school, modifications were made for remote learning
visit: www.chrisandjimcim.com for great tips!
Presentation 1 Robotics in Industry
Dobot Skill Builder 1 Robot Axis and Movement
Dobt Skill Builder 2 Pick and Place Routines
Presentation 2 Robotics in Industry Applications
Dobot Skill Builder 3 Using Jumps and Loops
Dobot Skill Builder 4 Using inputs
Presentation 3 Robotics in Industry Communication
Dobot Skill Builder 5 Palletizing and roll angles
Dobot Skill Builder 6 Handshaking Dobot to Dobot
Dobot Skill Builder 7 Handshaking Dobot to microcontroller
Students made drawings of the work envelope for reference
Introduction to the suction cup end effector and pick and place motions
The Dobot can be programmed with blockly. Students sent their codes to the teacher via a google doc.
Pick and Place with the coordinate system
Introduction to a claw end effector. This added the rotation angle of the end effector for students to incorporate.
Peru CSD students then added the conveyor attachment to create a workcell with the robotic arm.
Students final project was to combine a robotic arm, conveyor, and a 2nd robotic arm with a custom end effector (refer to end effector section if interested) to create a complete work cell.
Custom End Effectors for the
DOBOT Magician Robotic Arm
Multiple courses can take advantage of the Dobot Magician. Peru CSD's Manufacturing and Engineering Classes completed a unit of designing custom end effectors.
Students designed their end effector on Tinkercad.com or Fusion360 which were then 3D printed on a school printer remotely.
