top of page


ZA6 Resources
Setup
Current Mount setup - 1/2" thru bolt into 1 1/2" thick maple workbench top. I added 2 leaves that fold out to extend to the robots outer work envelope. These will fold down when not in use to save space in the classroom. All surfaces were then laminated with a whiteboard material for students to layout operations with a whiteboard marker and/or have the robot drawn with a marker on the surface.


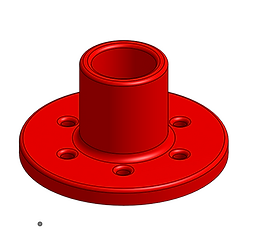
3D Printed End of Arm Tooling
Below are links to files for 3D printing end of arm tooling


Setup
3D Marker Holder
Workcell
Workcell Example
Python Talk
Python Pick and Place & Text to Talk
bottom of page